How much does it cost to repair a roof leak?
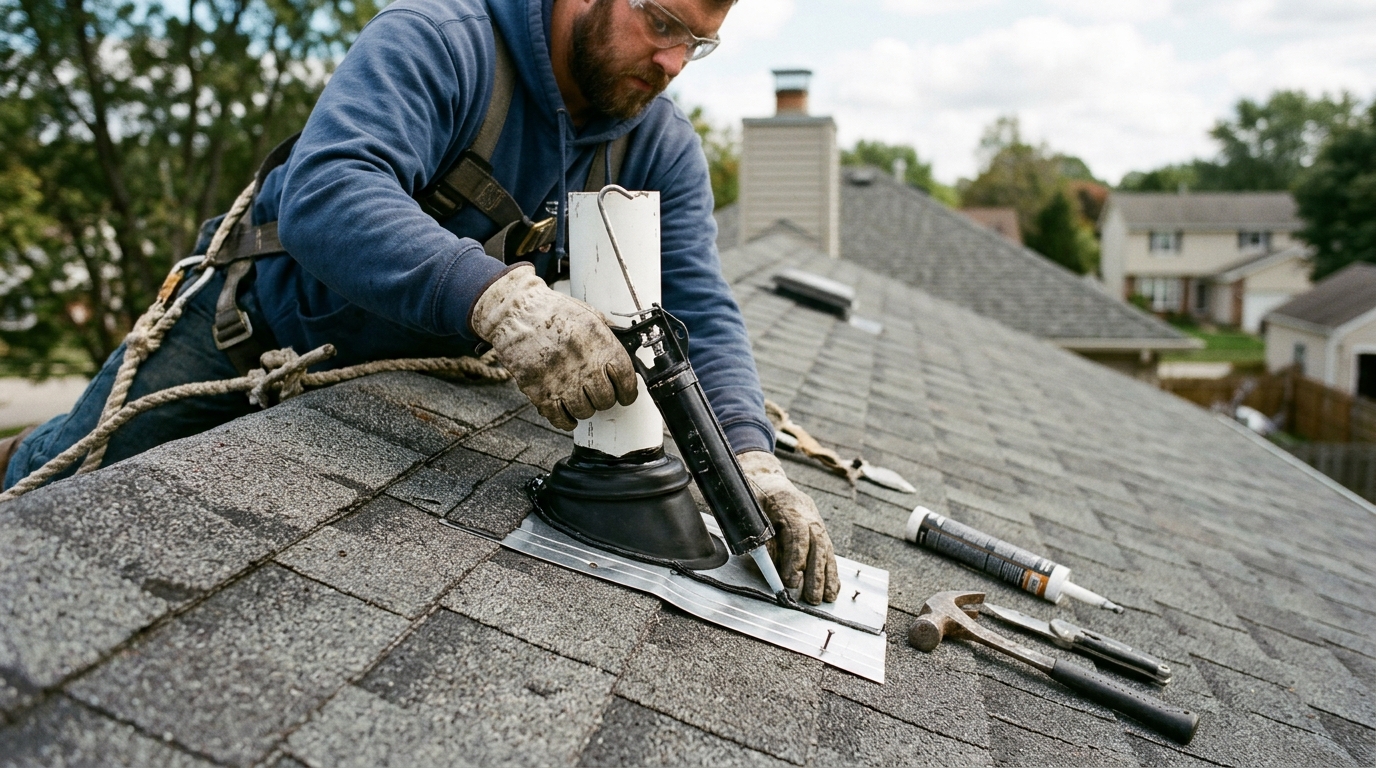
Table of Contents
- 1. The Quick Answer: Average Leak Repair Costs
- 2. Cost Breakdown by Roof Leak Penetration Source
- 3. Water Tracking Physics: Why Your Stain is Misleading
- 4. Emergency Tarping vs Permanent Mechanical Fixes
- 5. Hidden Costs: Drywall, Insulation & Mold Remediation
- 6. Immediate First-Hour Homeowner Checklist
- 7. Our Contractor Opinion: Why Caulk Always Fails
There are few sounds as unnerving to a homeowner as the rhythmic tap-tap-tap of water dripping onto your bedroom ceiling drywall in the middle of a thunderstorm. You rush into the kitchen for pots, slide towels under furniture, and look up helplessly at a yellowish, water-filled blister ballooning downward in the plaster.
The urgent question racing through your mind is simple: how much is this going to cost, and how fast can someone fix it? Nationally, in 2026, the average roof leak repair costs between $380 and $1,250. Minor leaks caused by dried-out neoprene pipe boot collars or small wind-blown gaps start at $200 to $450, while complex multi-plane leaks around brick chimneys, skylights, or rusted valleys average $650 to $1,800.
However, roof leak pricing depends heavily on whether you need emergency storm stabilization or a scheduled permanent mechanical repair. You can test your exact symptoms using our free, zero-registration Emergency Roof Leak Diagnostic Tool to pinpoint the likely structural culprit before calling a roofer.
Roof Leak Repair Costs by Penetration Source (2026 Price Table)
Over 90% of roof leaks do not occur in the open field of shingles; they happen at penetrations, seams, and angular transitions where metal flashing meets vertical walls or pipes. The table below details what you can expect to pay based on the exact anatomical location of the leak.
| Leak Source | Root Failure Cause | Permanent Mechanical Repair | Typical Crew Time | 2026 Cost Range |
|---|---|---|---|---|
| Plumbing Vent Pipe Boot | Neoprene rubber collar cracks from UV/ozone exposure after 7-10 yrs | Install Perma-Boot sleeve or replace with siliconized flange boot | 1 - 2 hours | $175 - $450 |
| Chimney Flashing & Saddle | Rusted step flashing, broken mortar reglet seal, or missing rear cricket | Grind out mortar joint, bend copper/galvanized step flashing, polyurethane seal | 3 - 6 hours | $450 - $1,800 |
| Roof Valley Channel | Corroded metal valley or accumulated debris causing water backup under shingles | Strip 3 ft on each side, apply self-adhering ice barrier, install 24-ga valley | 4 - 6 hours | $550 - $1,500 |
| Skylight Perimeter | Hardened rubber gasket or detached step flashing along side channels | Remove surrounding shingles, install new manufacturer flashing kit ($350-$950) or full skylight replacement ($1,200-$2,500) | 3 - 5 hours | $350 - $1,600 |
| Wall Step Flashing | Kickout flashing missing where eave meets vertical siding wall | Pry lower siding course, weave new step flashing, install IRC-compliant kickout diverter | 2 - 4 hours | $350 - $900 |
| Winter Ice Dam Backup | Melted snow freezes over cold eaves, forcing water uphill under shingles | Tear off bottom 3-6 ft of shingles, install self-adhered membrane 24" inside warm wall per IRC R905.1.2 | 4 - 8 hours | $600 - $2,200 |
| Corroded Nail Pops | Thermal expansion backs roofing nails out, puncturing upper shingle tabs | Extract backed-out nails, drive new ring-shank nail into sound wood, patch with mastic and slate granule coat | 1 - 2 hours | $200 - $400 |
*Data compiled from 2026 RSMeans residential repair standards and national contractor labor indices. Rates assume single-story homes with pitch up to 6/12.
Water Tracking Physics: Why Your Ceiling Stain is 15 Feet Away From the Leak
The most common mistake homeowners and amateur handymen make is assuming that the roof hole is directly above the water stain on the ceiling drywall. In residential construction, this is almost never the case.
Understanding water tracking mechanics explains why leak diagnostics require experienced roofing specialists:
Underlayment Migration
Water enters through a pinhole crack or blown-off shingle tab high on the roof. It hits synthetic underlayment or 15# felt paper and flows downhill beneath the shingles for 5, 10, or 20 feet before finding an underlayment seam or nail hole.
Rafter Run Tracking
Once water penetrates the plywood roof deck, surface tension causes it to cling to the underside of 2x6 or 2x8 lumber rafters. It travels along the slope of the rafter until it strikes a nail, knot, or ceiling joist intersection.
Drywall Pooling
Water finally drips off the rafter, saturates fibrous attic insulation, and pools on the flat back of your ceiling drywall until hydrostatic pressure causes the drywall to sag, discolor, and blister.
If a roofer climbs onto your roof and only patches the shingles directly above your ceiling stain without inspecting upslope flashings and pipe boots, the leak will return during the very next driving rainstorm. If multiple sections are failing, compare repair costs with our master how much does it cost to repair a roof guide.
Emergency Tarping vs. Permanent Mechanical Repair Costs
When water is actively pouring into your home during a severe storm, you cannot immediately perform a permanent mechanical repair. Roofing sealants, hot-air welds, and asphalt adhesives will not bond to soaked substrates. Furthermore, OSHA regulations prohibit contractors from performing steep-slope mechanical tear-offs in high winds or active downpours.
In these crisis events, the repair process splits into two distinct financial phases:
Phase 1: 24/7 Emergency Storm Tarping ($300 to $800) Immediate
A 2-person rapid dispatch crew secures heavy-duty 10-mil woven poly tarps over the damaged roof section, anchoring the edges with 2x4 wood furring strips nailed through the tarps into rafters. In high-wind zones, sandbags and ropes are used to prevent wind uplift. This stabilizes your home, stops interior drywall collapse, and generates documentation for your insurance claim.
Phase 2: Permanent Code-Compliant Mechanical Repair ($400 to $1,500) Scheduled Dry Day
Once the storm passes and the roof deck dries, the crew returns to remove the temporary tarp, tear off damaged shingles and deteriorated underlayment, inspect wood sheathing for rot, install new flashing, and nail down matching architectural shingles.
Hidden Secondary Costs: Drywall, Attic Insulation, and Mold
The roof repair invoice is often only half the financial picture. Water trapped between your roof decking and interior ceiling creates compounding damage that must be addressed quickly:
- Drywall Ceiling Replacement: Cutting out a waterlogged 4x4 section of ceiling drywall, hanging new 1/2-inch sheetrock, taping, mudding, and applying knockdown or orange peel texture costs $250 to $650 per patch.
- Ceiling Painting: Matching aged ceiling paint is notoriously difficult. Contractors typically apply an oil-based stain-blocking primer (such as Kilz or Zinsser) over the water rings and repaint the entire ceiling plane, costing $300 to $800 per room.
- Compacted Blown-in Insulation: Saturated fiberglass or cellulose insulation loses its thermal R-value permanently once matted down by water. Removing wet insulation and blowing in new R-38 or R-49 cellulose costs $1.50 to $3.00 per square foot.
- Mold Remediation: If moisture remains unmitigated in a warm, unventilated attic for more than 48 to 72 hours, toxic mold colonies (such as Stachybotrys chartarum or Aspergillus) can proliferate. Certified antimicrobial HEPA fogging and framing scrub-down runs $1,200 to $3,500+.
What to Do in the First 60 Minutes of a Roof Leak (Crisis Protocol)
If water is actively leaking right now, do not panic. Execute these 5 critical containment steps in order:
Relieve the Ceiling Blister
Place a 5-gallon bucket beneath the sagging ceiling bulge. Take a screwdriver or pencil and puncture a single hole directly in the center of the water bubble. This drains accumulated water safely into your bucket and prevents the entire 50-pound drywall sheet from collapsing onto your floor.
Clear Valuables & Electronics
Move computers, TVs, and wooden furniture at least 10 feet away from the drip perimeter. Spread plastic drop cloths or trash bags across stationary carpets.
Take Date-Stamped Photos
Capture high-resolution video and photos of the active drip, water accumulation, damaged furniture, and ceiling stains. Insurance adjusters require timestamped proof to process sudden storm damage claims under HO-3 policies.
Do NOT Climb on a Wet Roof
Never climb onto a wet asphalt, tile, or metal roof during rain. Wet algae and loose shingle granules turn a roof into an ice rink. Over 80% of serious residential ladder and fall injuries occur during homeowner emergency DIY attempts.
Why Caulking Over a Roof Leak Always Fails
Every week, our crews inspect roofs where a well-meaning homeowner or handyman attempted to fix an active leak by buying three tubes of black roofing tar and smearing it over shingles, flashing, and nail heads.
Here is why that almost always makes things worse: topical caulk acts as a dam, not a seal. Roofing systems are designed as overlapping watershed mechanisms, not waterproof submarines. When you smear asphalt mastic over an open valley or step flashing, you trap rainwater that has already gotten behind the shingles. Unable to drain off the roof, that trapped water is forced sideways into nail holes and wood decking, accelerating plywood rot beneath your eyes.
The only durable, code-compliant fix is mechanical flashing installation: lifting surrounding shingles, weaving new L-shaped step flashing with proper 2-inch laps, installing self-adhering polymer-modified bitumen underlayment, and fastening with code-approved hot-dipped galvanized nails.
Have an active leak threatening your ceiling? Run our free Roof Leak Diagnostic Tool to identify the exact penetration point, or connect immediately with our 24/7 verified contractor dispatch hotline.